HOME         ABOUT         30b430         2015         ADVERTISE         SHOP MK        
Showing posts with label guest post. Show all posts

1.01.2014

Sponsorship in 2014

I'm fairly new at this whole sponsoring thing. Since starting the ads on my sidebar, and being part of other people's sidebars, I've learned so much! I want to do a little more this year for my sponsors, and really get them involved with the blog.

Currently, depending on the ad space you purchase, you get a blog post pimpin' out you and your brand, or social media mentions. That's pretty much it. That was just a starting point for me. I didn't really know how to do the sponsorships, so I just kind of .. dipped my toes in. This year- we're going all in.

What you'll get in 2014:

++ Group Posts : once a month I'll email a question in the form of advice, trivia, or a little about yourself, for you to answer. Your answer, picture of choice, and 3 links of your choice will be posted as the content in this "group post". 


++You can find these sponsor options available at any time, along with blog stats (updated monthly) via the "advertise" tab at the top of the page. 


HAPPY NEW YEAR!

10.25.2013

Guest Post: Rivers and Roads

hello! i'm meg and i blog over at Rivers and Roads. it's a lifestyle blog full of pictures, mini adventures, my faith, and DIY projects. i was so excited when shayla asked me to guest post and then i freaked out a little because i wasn't sure what to post about! don't worry, i figured it out. i did this paper flower project a while back, and i loved it so much, i wanted to share it again! out of all the various paper flowers i've made, this one has been my absolute favorite! mostly because one of the main ingredients is glitter. sparkly goodness.

what you'll need:
cardstock // color of your choice
scissors
circle cutter // i tried both a 1" and 1 1/4" circle and ended up liking the larger circle better
hot glue gun
glitter


step 1: cut circles from your cardstock. i wanted to try out the ombre effect, so i have a different color for each layer of flower. i used approximately 8-10 circles per color. you'll use more depending on how full you want the bloom to be.
step 2: take your scissors and cut a slit halfway up each circle
step 3: put a dot of hot glue on the left side of the slit and slide the right side on top of the left. this will form a cone. repeat.
step 4: put a dot of hot glue near the seam of one cone and place a second cone (usually the flattest side) on top of the seam.
step 5: repeat steps 3 and 4 over and over and over. you'll want to make the cones less severe as you go so that the flower looks more open once you're finished.
step 6: smother the center in hot glue and cover it in pixie dust. if you don't have pixie dust, i guess you'll just have to settle for regular old glitter ;)


i hope you all enjoyed this little tutorial, and i hope you try it out! it really is very cute and simple.  happy honeymoon to shayla! thanks so much for having me this week! i cannot wait see pictures from the wedding!!

10.23.2013

Guest Post: Sweet Lavender Bake Shoppe

Hello readers! I'm back! (kidding. I'm not) I'm probably freezing my buns off in Colorado with my HUSBAND! (I promise to update when I return) I'm writing this up 2 weeks in advance, because I am a tricky tricky organized lady. (kidding again, I'm not. organized, that is... or tricky.) Have you been loving these sweet guest posts from the most amazing ladies the past couple weeks? I'm so so very blessed to have such amazing and talented women in my life who would allow me to interrupt their week just to guest post for me while I'm gone. Aren't they just the best?

Today the guest blogging continues! I know you've heard me mention Sweet Lavender Bake Shoppe before, when Fern and I over-cooked her yummy organic apple rings.  Christina is one of the most talented people I know with food. Which is absolutely the way into my heart. She has agreed to share with you lovelies, some of her very own fun fall recipes. Get excited, because when I saw what she was sharing with us, my whole heart got so overwhelmed I almost cried. It sounds very dramatic, I know... but just you wait. Prepare your heart my friends, and feast your eyes, and appetites, on a few of Christina's favorite fall recipes:

Holy Cow, right? You can find some of the above recipes, linked below. 
Recipes like:

-Christina's Favorite Apple Almond Phyllo Tart
and

What's that you say? You want more? OF COURSE YOU DO! And you can have more! She's even organized them for you in the following categories: "Apple inspired recipes", "Autumnal veggie recipes", "miscellaneous fall recipes", and "pumpkin recipes". 

Visit Christina's "27 Fun Fall Recipes" post to get ALL of the yumminess your heart can stand. Leave Christina a little note to let her know if you plan on trying, or have tried any of them. I know she'd love to hear from you. 

10.21.2013

Guest Post: Elah Tree

Hello lovely Moons & Junes readers! I'm Samantha and I blog over at Elah Tree - a lifestyle blog full of creativity and encouragement. I also run a lovely little shop full of fun accessories! I am so honored that Shayla has allowed me to take over her virtual home for the day. Shayla is so sweet isn't she!

There are so many things I wanted to share with you today, but of course I had to narrow it down or we would be here all day. Is it to early to talk about Christmas? I know it's not even Halloween yet, but I have two very exciting things related to Christmas that I want to share. First, hop over here and learn more about The Great Christmas Exchange! I am ecstatic about The Great Christmas Exchange and I hope you decide to join us in this year's fun festivities!

So in honor of The Great Christmas Exchange I have put together a fun and easy Christmas ornament craft.
 photo Christmas_Decor1.png
Because of my shop I always have lots of fabric scraps and thought this project would be perfect. You'll need fabric, something to trace a circle, I used a mason jar. A pen or pencil, a rotary cutter or scissors, and stuffing of some kind. A thought about using fabric to stuff the ornaments, but then remembered I had some left over stuffing. photo Christmas_Decor.png
1) Trace and cut out the circles for the ornament. 2.) Pick out and cut fabric to decorate the ornament.  photo Christmas_Decor2.png
3.) Cut fabric stripes for the ornament loops. 4.) Sew decorative fabric to ornament circles.  photo Christmas_Decor3.png
5.) Place ornament pieces together, don't forget the ornament loop. 6.) Sew around the outside of the ornament, remember to leave a whole for the stuffing. 7.) Stuff the ornament with stuffing and then sew up the small hole.  photo Christmas_Decor4.png
All done! I hope this little project has inspired your creative side. Did you notice the Star Wars ornament? Yep, that one is for the Husband.  And last I leave you with a couple creative tips. Remember that creativity is just problem solving and it's a process. There is no failure in art unless you quit trying. Think of art as exploration. Don't focus on getting it right, just explore different ways to create.

Thanks for having me! Happy creating!

10.18.2013

Guest Post: Joyful Life

Hi everyone!! Im Hannah and I blog over at Joyful Life. I pretty much write about anything from motherhood, to DIY posts, to babies and birth ((is that the same as motherhood?)), faith, home and lots more! I am SO excited to be over here with you today while Shayla is off gettin hitched! So when I thought about what I would share with you, my mind of course went "down the aisle"... I love weddings, seriously love weddings. If I could have lived several other lives ((not that I believe in that)) but IF i could have, I would have loved to be a wedding planner! Now if I could have used one of those other lives I would have been a graphic designer. Now put those two together and whaddayagot? Wedding Typography. 

Now I've been to a lot of weddings. A.lot.of.weddings. And I truly love them all. But I think what really gets me excited is that little invitation I get to kick is all off. I could drool over a good invite. ((And I mean who doesn't like getting mail?))

I hope the art of graphic design and typography never dies so I thought I would share with you so amazing peeps ((via Etsy)) who are doing some downright amazing work in the ol wedding typography department.

<<<CHECK IT OUT>>>
Wedding typography inspiration

Don't you just love those? Which is your favourite? I love the wooden one at the top right. I almost did something similar for my own wedding. The bottom right is also so cute, its a library card and it has date stamps for when the couple met, first date, got engaged and finally the wedding date. SO cute right? 

The three in the middle row are from an Etsy shop called "Ello There" I've got a mad crush on these two. They have got skills. I have never seen invites so unique and sweet. Definitely check them out. 

I hope you have enjoyed my little post, and for any of you who are soon to be wed, I hope it was helpful! 

I know Shayla's wedding is going to be so sweet, unique and creative, just like her. I can't wait to see all of the pictures and hear all about it when she gets back! 
Thanks for having me!

10.16.2013

Guest Post: Life Alaskan Style

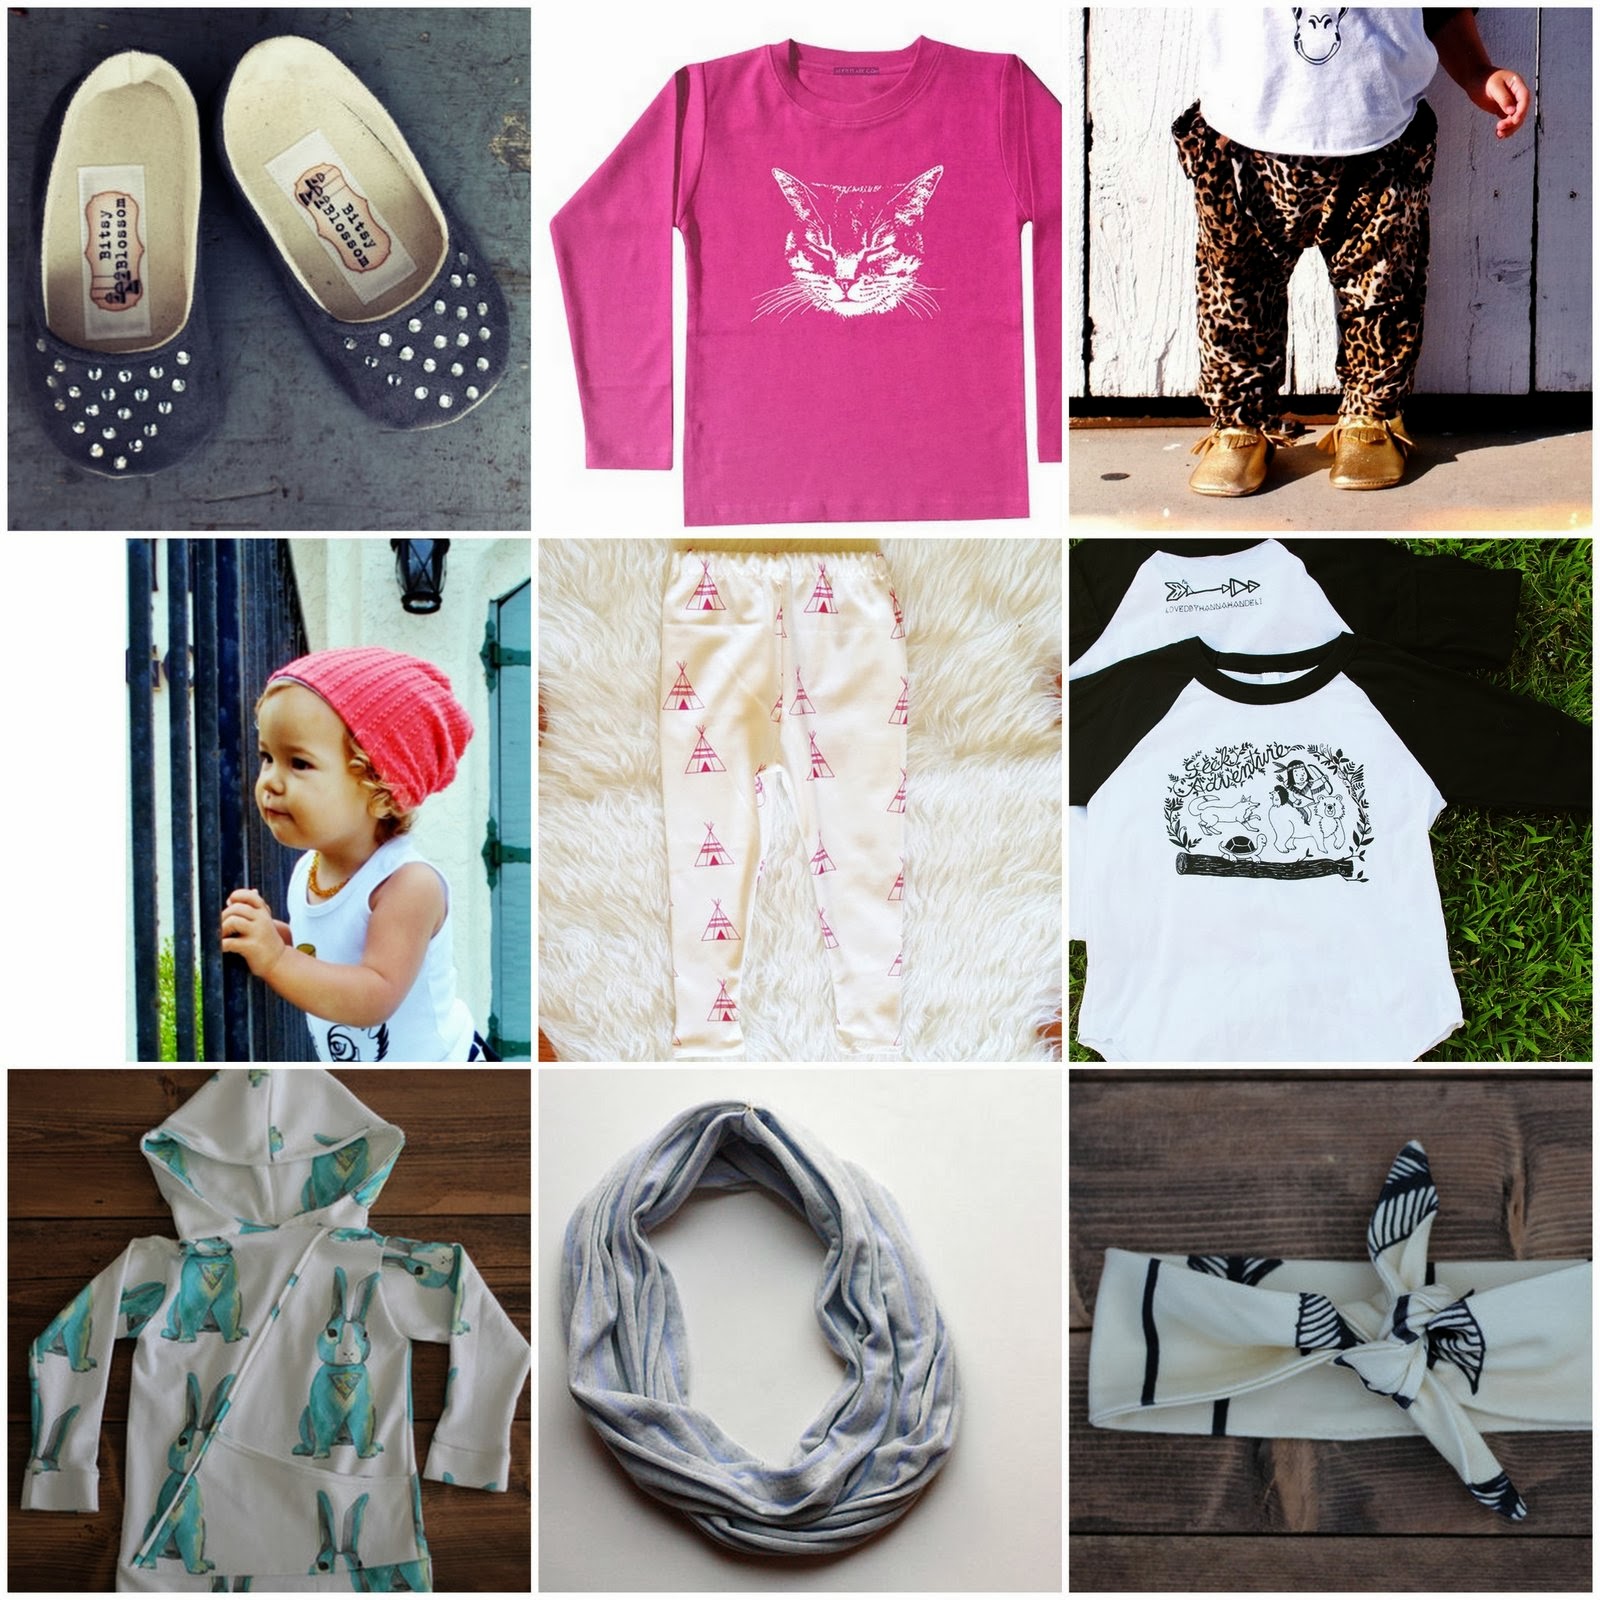
Hello everyone! Shayla's off getting married, and she invited me over to her space for the day. I'm so excited to be here and share with you! My name is Whitney, and I blog over at Life Alaskan Style. What the heck am I going to post about?! That was the first thing I thought after I happily agreed to write up a post. A day or two later, while online shopping for my sons fall wardrobe, I was getting so excited about how many completely adorable things I was able to find for him that were made in small shops across America other mamas. At that moment I realized what I was going to post about - my favorite fall fashion pieces for toddlers from small shops all across the country. I thought it'd be especially fitting for sharing with Shayla's readers since she's such a talented shop owner herself! It feels great to be able to support small, local business when shopping for Riggs rather than getting everything from big box stores (that I can't help but love) like Target or Gap or Nordstroms. Plus there's so much more variety! Here are some of my favorite items for fall from some of my favorite shops...
| TODDLER GIRL |
1 | 2 | 3
4 | 5 | 6
7 | 8 | 9

| TODDLER BOY |
1 | 2 | 3
4 | 5 | 6
7 | 8 | 9

Oh man, I am just in love with all of these items! And the best thing is, there are many, many more patterns to chose from in most of these shops. Patterned leggings are a big hit in our house, as they are so comfortable for lounging around inside and work great as a long-underwear-type layer for under jeans when we head outside in the chilly fall weather.
As far as accessories go, slouchy beanies and bandanas are probably our favorites. You can mix them and match them with just about any outfit so they are a great investment. I also love how many of these items are actually pretty gender neutral, so they can get plenty of use from future toddlers regardless of gender. 
Here's a few of my favorite shops in case you want to go browse through everything they have to offer:
I hope you enjoyed visiting with me today, I sure loved being here! Let's all send calm, relaxing thoughts Shayla's way as she journeys through this very special and very busy time in her life. I don't know about you, but I'm so excited to hear all about it when she gets back!

10.14.2013

Guest Post: Fawn over Baby

Hello Moons & Junes Readers. My name is Melissa and I blog over at Fawn Over Baby - an inspirational blog about all things baby! I am a military wife and first time mama to my precious little 11 month old, McKenzie. I am thrilled to be guest posting for the second time on Moons & Junes and can't thank Shayla enough for the wonderful invitation!

On Fawn Over Baby, you will find inspirations from nursery design to baby diy projects. With the thrilling Halloween holiday coming up, I'm a little obsessed about all of the fun ways to celebrate it with my little. I even took it upon myself to make McKenzie's Halloween Costume from "semi" scratch, you can find the tutorial here. Today, I decided to have a little fun and design a nursery inspired by ...you guessed it, Halloween! I tried really hard not to go over the top with Halloween decor (which can be very easy to do), and just used the traditional Halloween color palette to set the tone. I hope this little Nursery Design leaves you feeling a little inspired and Happy for the Halloween Holiday!


To view Individual Items, Click Below!